
Made Shrinky Dinks
September 03, 2011 Filed in: Crafts
"Shrinky Dinks shrink to approximately 1/3rd their original size and actually become 9 times thicker."
--from the Shrinky Dink website
Several months ago, we picked up a kit to make Shrinky Dinks. Honestly, I had no idea what they were. J kept suggesting I try this, but because I had never made them before, I kept putting it off. Tonight, I decided to give it a shot.

The kit we picked up comes with stuff to make bracelets, keychains, magnets, and other cool stuff.

It also came with five different sheets of patterns. From those sheets, I decided to make three different shapes: a foam finger, a car with flames, and a robot.

The kit also comes with a batch of colored pencils, so I used those to fill in each of the shapes I chose.

I also punched holes into the patterns so I could attach the Shrinky Dinks to a carabiner or keychain.

When it was time to stick it in the oven, we used our toaster oven.

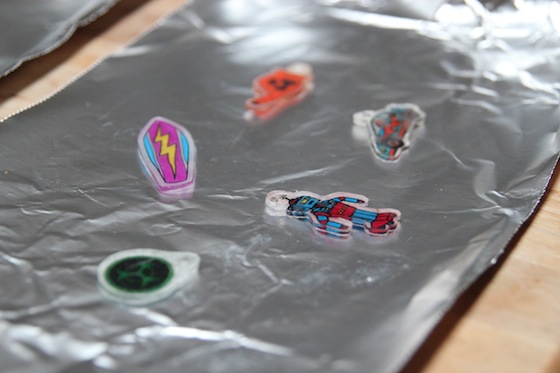
Once it was in there, it took only a few seconds for the Shrinky Dinks to have a reaction. They curled and shriveled within seconds. I waited a few minutes after that and took them out after about 3 minutes had passed. We ended up doing two at a time because the manual says to keep them 3 inches apart.

Shrinky Dinks were a lot cooler than I thought. I was fairly resistant to making them, but I am so glad that we did. It's pretty crazy that a flat piece of transparent paper can shrink into a little, thick piece of plastic and basically preserve the scaling of the pattern. In addition, the final product is sturdy. I really liked the way it looked when its shape was changing. That was fun!
blog comments powered by Disqus