
Grilled Baby Back Ribs

"Anything worth doing is worth doing slowly."
--Mae West
It's the Fourth of July, and I wanted to do something that I thought was uniquely American. I decided that grilling up some ribs would be the perfect way to celebrate my country's birthday. J found a great recipe online.
We went shopping for ribs yesterday and ended up with a slab of beef ribs and three slabs of baby back ribs.

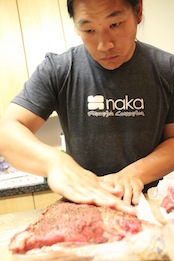
The first thing I had to do with the ribs was remove the silver skin. It's a thin membrane layer on the underside of the rib. If it isn't taken off, it becomes tough and chewy, and the rub doesn't incorporate well with the meat.

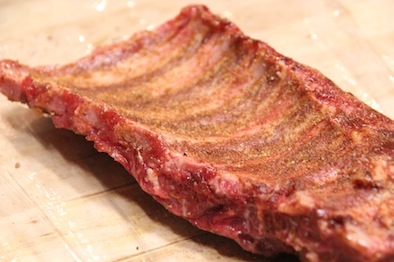
I used a coffee spice rub from the Maui Culinary Academy on the beef ribs, and for the baby back ribs, I made a rub with sugar, brown sugar, ginger powder, garlic powder, paprika, rosemary, salt, pepper, and onion powder. I put the rub on the ribs and refrigerated them for a while.
I lit the coals in the chimney and waited for them to ash over.
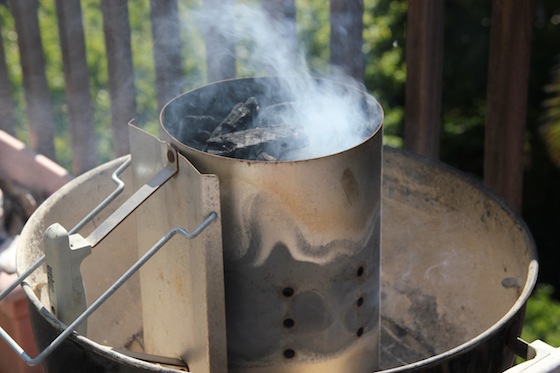
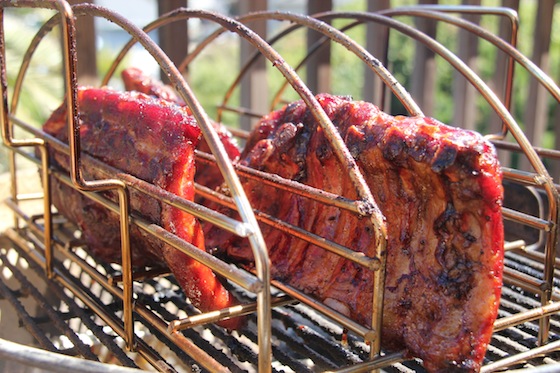
When they were ready, I set the coals on one side and put an aluminum pan with some water in it on the other side. This gave me an indirect heat setup. I used a rib rack and placed it on top. The ribs would eventually go over the aluminum pan side.

I ended up having to bake the beef ribs in the oven because they were too tall for our grill. Cooking them this way was fairly quick: 350 degrees for about an hour. I added a layer of barbeque sauce at the end and let it bake for the last few minutes (you add the sauce toward the end to avoid burning the sugars in the sauce).
Back at the grill, it was a challenge achieving the optimal temperature (225 degrees). Because the rib rack was designed for a bigger grill, I either had to place it very close to the coals or put it on the grill in a way that the lid didn't completely close. The former produced a result that was way too hot, and with the latter we had a hard time sealing in the amount of heat that we needed. I ended up sticking with the latter but had to make a foil extension to the grill cover. Because our grill is a smaller one, we could only put a small amount of coals in (or it would get too hot), and then had to add more coals every 20-30 minutes or so (to keep the temperature up). We also added mesquite wood chips for extra flavor.
Finally the ribs went on! I left the ribs for a while, checking the temperature every few minutes and adding coals as needed over a period of about four hours.
After the four hours, I bent the ribs to see if they were done, and when they tore between the bones, I knew they were ready. I added a layer of sauce and cooked it over the direct heat side of the grill. A few minutes on each side to let the sauce caramelize was all they needed.
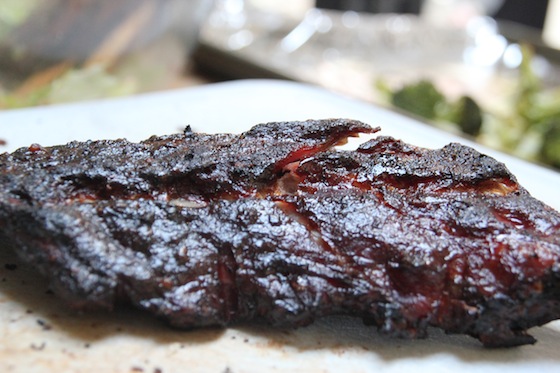
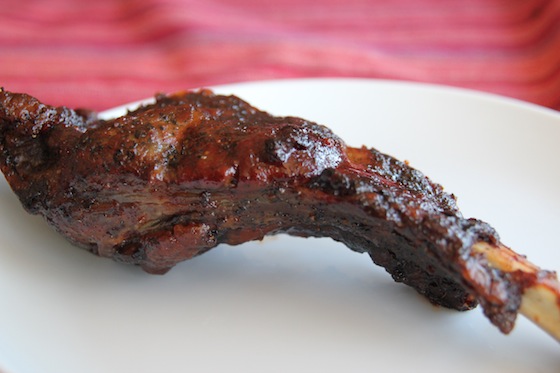
I cut them and could see the pink layer on the outer edge of the ribs, the highly sought after "smoke ring".

After the over four hour process of making these, I finally got to taste them, and they were delicious. I was very proud of what I'd done. The ribs had a moist, smokey and meaty taste.

If I were to do this again, which I am certain I will, I would do two things: use a larger grill and try to make a Texas crutch (a method of wrapping the meat in aluminum foil with extra liquid to tenderize and moisturize). Other than that, I am so happy I know how to make these now because it turned out better than any restaurant ribs I'd ever had before.
I love barbequed ribs, and I love the United States of America! Happy Independence Day!
blog comments powered by Disqus