
Assembled A Robotic Arm

“I wish a robot would get elected president. That way, when he came to town, we could all take a shot at him and not feel too bad.”
--Jack Handy
I found this kit on Amazon and thought it would be a cool project to try out. It’s a pretty simple robotic arm with 5 points of articulation.
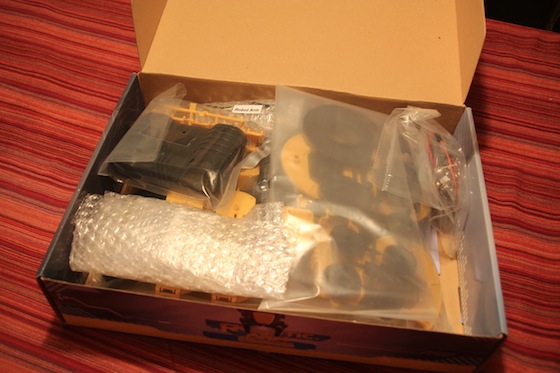
The kit has a ton of pieces, but they’re very well organized and labelled.

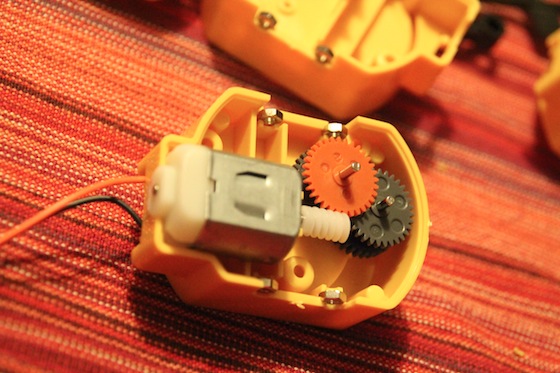
There are 46 steps for the mechanical assembly and it starts with organizing the motors. There were five motors and they were put together similarly.
For the next part, I put the base including the battery pack together. Four D batteries were not included.

The motors are attached to each corresponding point of movement on the arm. The only section that has a slightly different motor setup is the claw at the end.

After what seemed like an endless number of screws, I was able to complete the mechanical part of the assembly. Next came cable management time.

One thing that’s really nice about this kit is that there isn’t any soldering required. All the wires neatly plug into the control panel on the base.

I put together the remote and tested it out.
This was a fun little kit. I was relatively inexpensive and really showed off how simple motors can be used to move mechanical parts. I thought the directions were very thorough and clear. My only criticism is that there were a ton of screws of several different types and some of them were pretty difficult to distinguish from one another. This is a fairly small gripe though because if I used the wrong screws, it still ended up working at the end.
I really enjoyed putting this together, and I can see this is a great kit for kids. Anytime you combine mechanical assembly, electronics, and robots, you’re bound to make boys of all ages very, very happy.
Related Item:
OWI Robotic Arm Edge
blog comments powered by Disqus